Updated for 2023!
Today in part two of our mailing list series, we’ll discuss the steps you need to follow to create a mailing list and add an opt-in form to your site. If you didn’t catch part one of this series, check the links below before continuing.
In this series, we are discussing:
- Why building a mailing list should be your top priority – HERE
- How to create a mailing list and add opt-in boxes to your site (this post topic).
- How to dramatically increase mailing list subscribers and target your dream audience – HERE
There is a wide variety of mailing list services out there, but what we’ll be focusing on today is Flodesk because it’s the one we use here at Designer Blogs. Flodesk is super user-friendly and will not ruin your wallet like the other popular providers.
Best yet, Flodesk allows you to try them for free, and with our Flodesk link, you can also get 50% off your first year.
So, are you ready to start the magic of a mailing list? Here we go.
1. Create a Mailing List
Step 1: Visit Flodesk
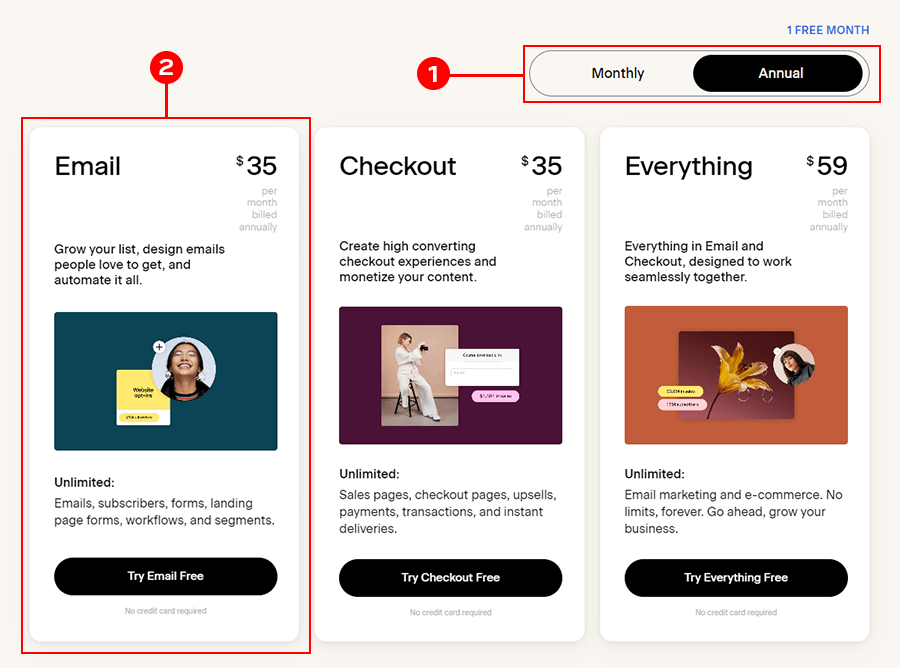
Hop over to Flodesk and choose if you prefer to pay monthly or annually. The second option is cheaper but requires a larger amount to be paid once. Once you check this one, move to the Email service and click the ‘Try Email Free’ button.
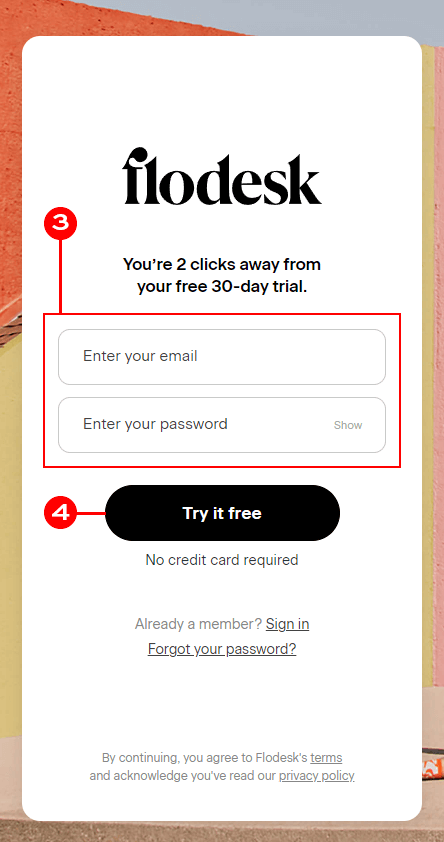
Step 2: Create Your Account
Enter your email and password, and then click “Try it free”. You will receive a prompt to check your email to activate your account.
Step 3: Activate your Flodesk Account
Head over to your email account and open the Flodesk email. Click on the black ‘Verify Your Email’ button to activate your account so you can start the magic.
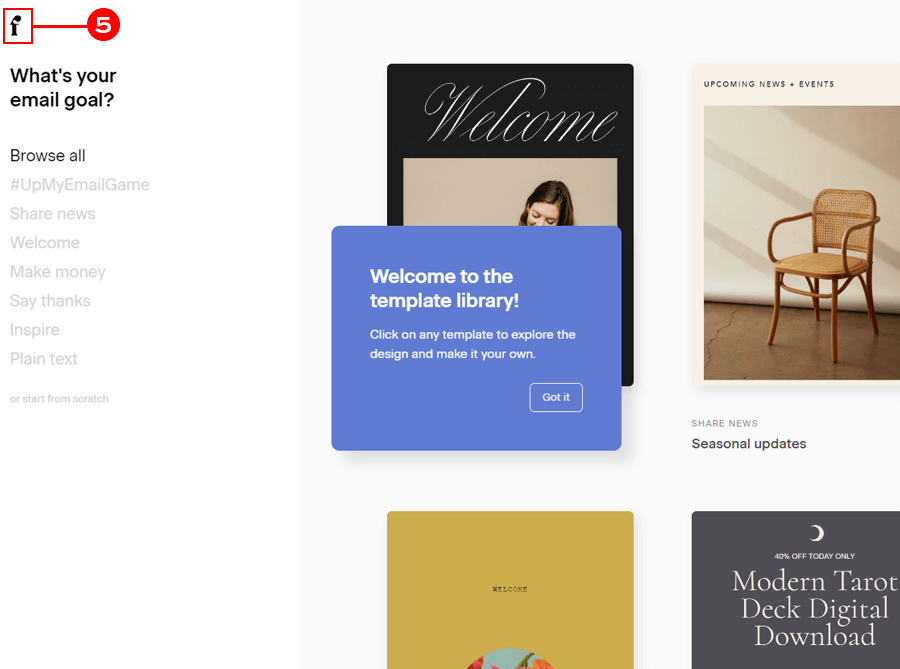
Your Flodesk account is now set up and ready to use!
You can now log in using the details you provided. It should bring you to the e-mail templates screen. Click on the F icon in the top left corner to access your main Flodesk Dashboard.
Step 4: Understand the Dashboard
At the top of the page, you’ll see a menu with several links.
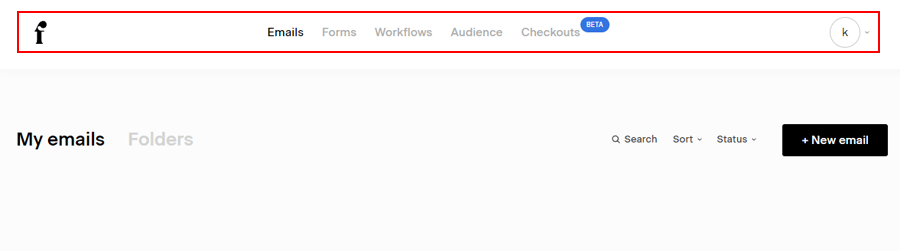
Here’s a summary of each link:
- F icon – Always visible, lets you come back to the main page of your dashboard
- Emails – Let you create e-mails from premade templates or from scratch
- Forms – All about your opt-in forms
- Workflows – allows you to create automated emails (e.g. a welcome email after someone subscribes).
- Audience – This shows the people who have subscribed to your mailing list.
- Checkouts – a new feature that will help you build checkout pages
- Circle icon – All settings of your account
Step 5: Fill Out Your Personal Information
Remember to click on the circle icon in the top right corner of the screen and browse settings to add things like your domain or branding options.
2. Add Opt-ins to your site
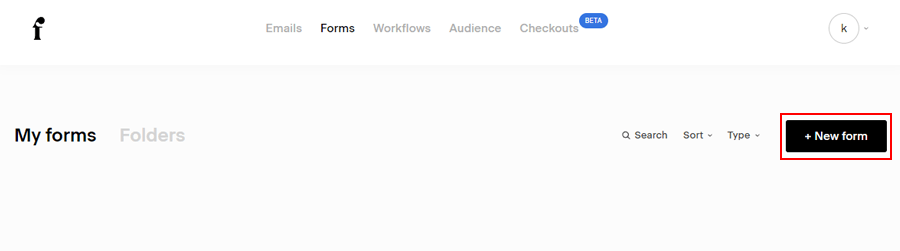
To create an opt-in form, go to your Flodesk Dashboard and Click the ‘Forms’ button in the top bar.
Step 1: Pick the form type
In the new window, you can choose between the following:
- Pop-up – a pop-up box that can appear when your visitors enter your site
- Inline – an opt-in section that can be added anywhere on your website
- Signup landing page – a separate page dedicated to your subscription form
Each option comes with premade templates you can choose from

In this article, we will focus on the Inline form type
Once you pick the form you want to use, click on it. A pop-up window will appear, asking you to choose a segment. The segment is just a fancy name for a list of subscribers. You can have more than one segment to easily sort out and target people who signed up via different forms.
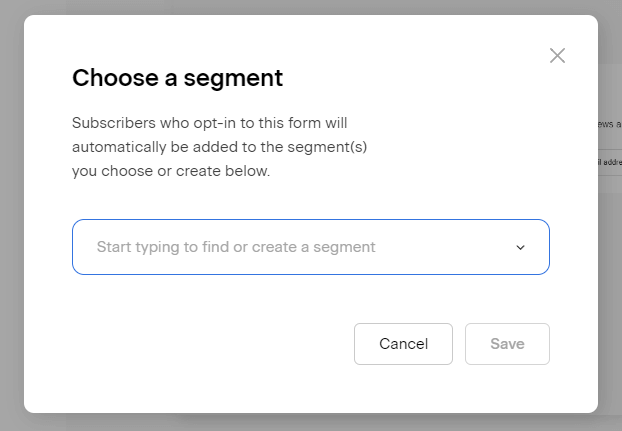
Only you can see your segment names, so pick something easy for you to use, for example – the main form. Once you type in the name of your choice, click the save button
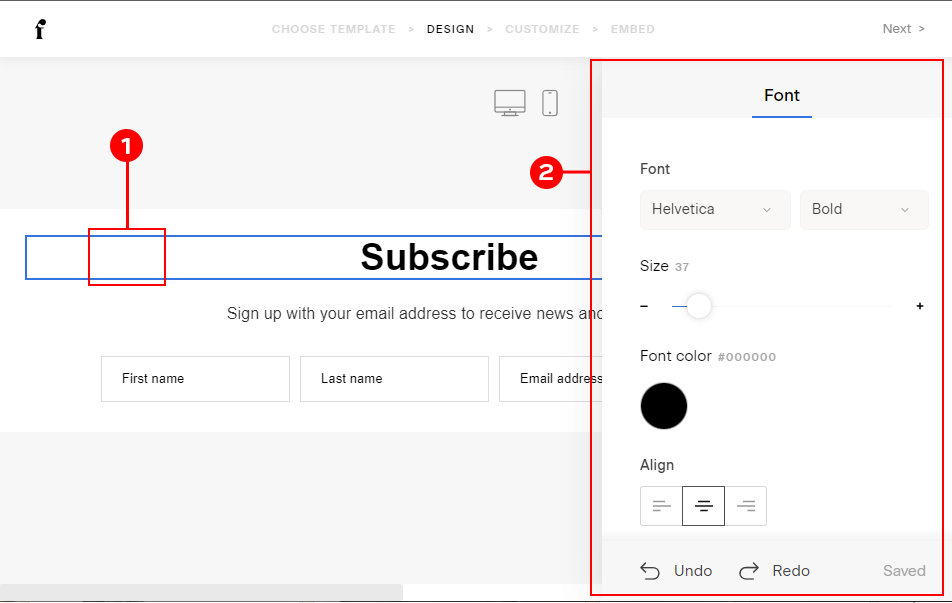
Step 2: Customize your form
You can customize your form look and content in the next two windows. Click on the element you want to edit and check the option in the right panel to see what you can change. For example, the ‘Subscribe’ title can be changed to any text, and you can customize its font, size, color, alignment, and spacing in the panel on the right side.
Once you are happy with all chances, click the ‘Next’ button in the top right corner.
You will be asked if you want to:
Enable double opt-in – if you want your subscribers to confirm their subscription to avoid fake e-mails being used.
Enable notifications – if you want to be notified every time someone signs up using this form
Add success page – You can choose if you want to redirect subscribers to a specific page after they sign up
Click the continue button in the top right corner after each choice.
Step 2: Add the opt-in box to Your Site
The last step will generate two codes for you. One must be placed at the end of the tag in your design. You can visit the Theme Settings section in your Dashboard if you use one of our themes.
The second code can be placed anywhere you want the form visible. If you use a classic WordPress editor, you must use an HTML widget. For all block users, all you need to do is use a Custom HTML block.
Now anyone that visits your site can join your mailing list.
Not sure how to use blocks? Learn how to create posts and use blocks with our guide.
Please contact us for a quote if you’d like a custom-designed opt-in box placed anywhere on your site or if you just need help adding your opt-in form.
Ready for more?
With the mailing list ready, it is time to grow your audience. Visit the next part of our Flodesk series to learn how we get over 100 000 subscribers.
How to dramatically increase mailing list subscribers and target your dream audience.
And that’s it! You are now well on your way to building a flourishing mailing list. Remember, we love designing custom opt-in forms for clients, so if you want a form that is more customized than what you can create using this tutorial, contact us and we’d love to make it happen for you!


I read this and it helped me a lot, however i cant seem to get the subscribe box to fit properly on my blog. am i doing something wrong? also, thank you guys so much for all of your great information, free downloads and tutorials it is greatly appreciated!
Are you making sure that the “Form width” area is left blank? This will allow the form to take on the width of the area you place the form.
yes, it’s blank. I will try again. Thank you for your help!