The ability to create a post is the essential thing every blogger needs to learn. Well-formated content will not only draw more visitors to your blog, but it will also keep them longer. Because of that, the first thing every new WordPress blogger should do is learn How to add a new blog post on WordPress.
Back in 2011, we have created a guide on how to create a post in WordPress (with classic editor); however, since then, the WordPress post editor was rebuilt entirely. You can still use the old post editor using WordPress plugins; however, this solution is not permanent. Classic post editor will eventually become unsupported, and you will need to learn how to use the new one, called Gutenberg.
#1 Add a new blog post in WordPress
The transition from one editor to another may be a bit intimidating as they look completely different. I can assure you that the new editor is not only easy to use, but it also offers many more options which you will love!
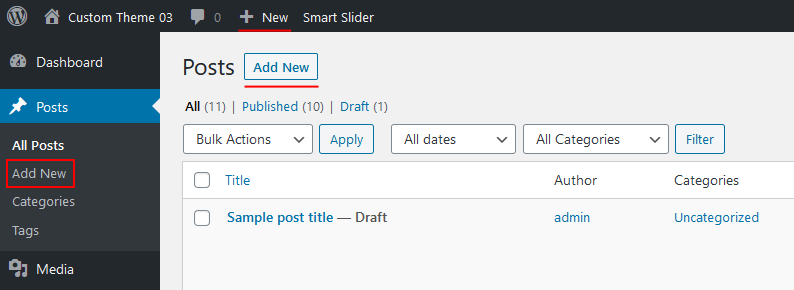
The beginning is very similar. You need to visit your WordPress Dashboard and from the left menu pick Posts > Add New
The old post editor was very similar to blogger one, so switching between those two platforms was a little bit easier. The main difference now is the post body field. You no longer have one massive post content area. Instead, your posts (and pages) are build from blocks. You can access them by clicking on any “plus in a circle” symbol. I have marked them red on the screen below:
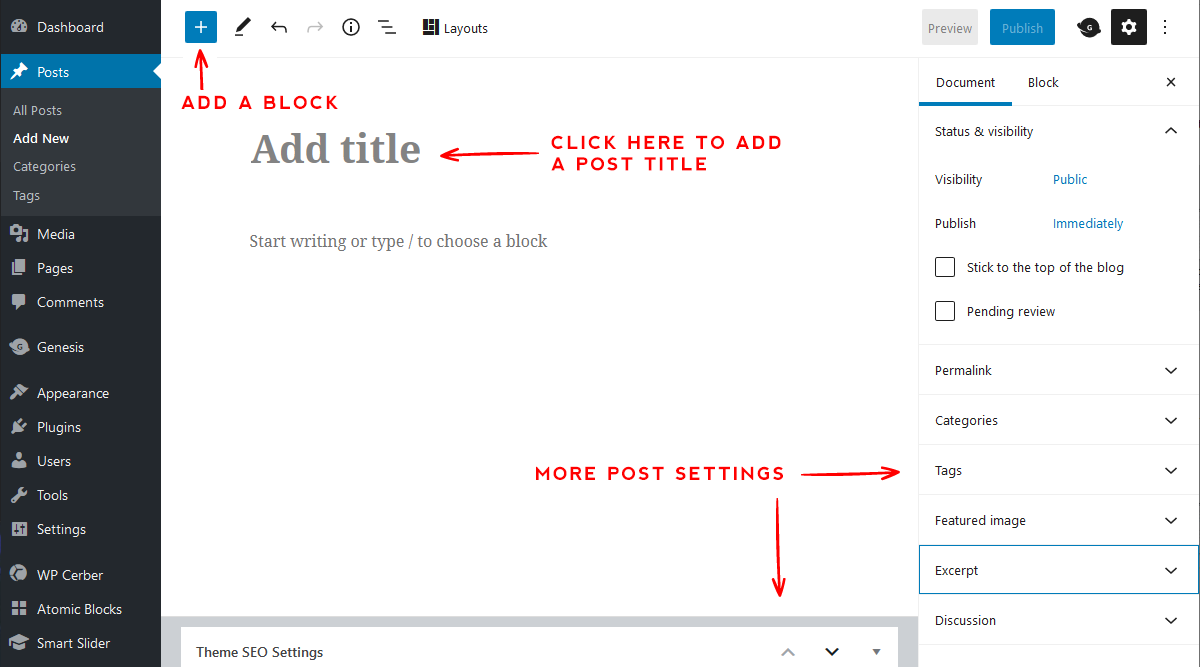
TIP: Use the top symbol to learn more about each block.
The top button is better for beginners because it includes a description of each block. Most of them are straightforward; however, you can always learn something new browsing block descriptions.
#2 Managing your blocks
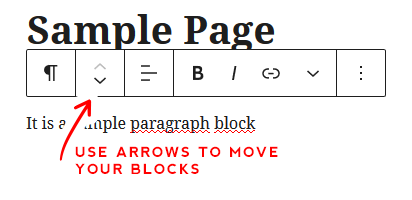
Once you add a block to your post, it will appear under the title area. Select your new block to reveal even more options!
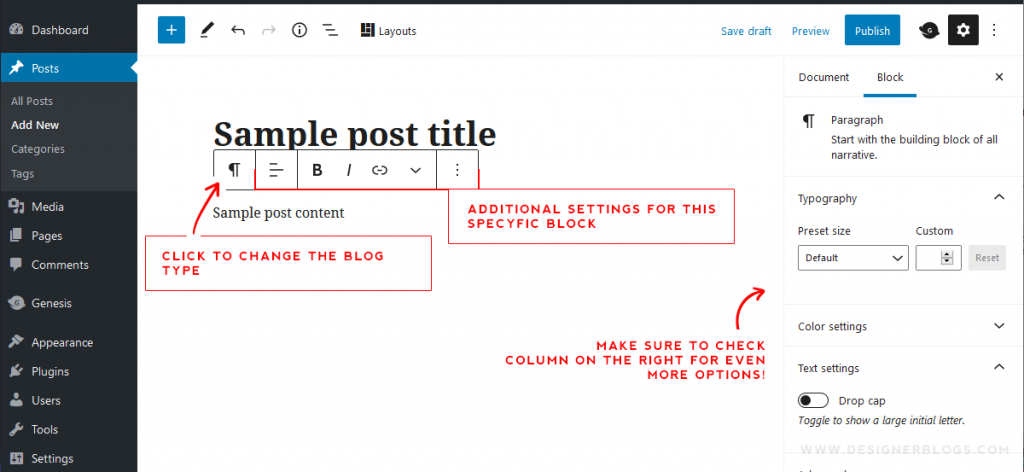
There is no limit to the number of blocks you can have in your post. To make your blog post more appealing, make sure to use different blocks, for example, images or headings.
TIP: You can use a panel with arrows to drag and drop your block!
If you plan to work on your post for a longer time, remember to hit ‘Save Draft’ in the top right corner to save your progress for later.
#3 Assign your post to a category
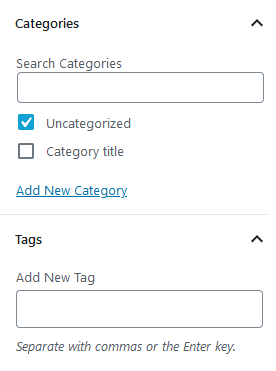
With the post ready to publish, it is time to assign it to the proper category and some tags to it.
Categories vs. Tags – What’s the difference?
click here to learn more
Use the right column settings to add new categories or pick an existing one. Both categories and tags help your visitors find the content they are looking for, so you should never skip this step.

Click on the tab name to expand it and find all options.
#4 Add featured image
Another essential part of each post is your featured image, also known as a cover photo of your post. The picture which you will upload here is used for your post excerpts (short post snippets on the homepage) when you share your post on social media and everywhere else, where there will be just one image needed.
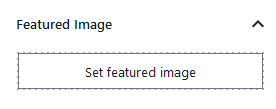
Select an image that best represents the content of your post and choose one that is visually appealing.
#5 Publish your post
Is your post ready? Let’s do a quick check! You should already have:
- Post Title
- Post content (build from blocks)
- At least one post category
- Featured Image
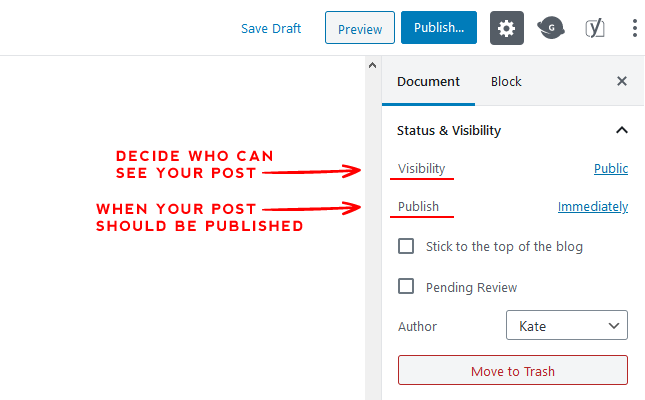
With all those elements in place, head to the top of the right column. Before you hit the ‘Publish’ button it is worth to take a look at the options below it.
The most important will be Visibility and Publish
Remember to preview your post before publishing it!
If the preview is alright and you are happy with what you see, you can finally click ‘Publish’ and create your post in WordPress. The new post editor will ask you to double-check everything and suggests options you may want to look through.
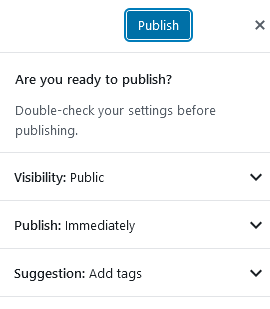
You will need to click ‘Publish’ again to confirm that everything is double-checked, and you want to publish your post.
Congratulation! You have created your first post!
I hope this guide was helpful and you learned how to add a new blog post on WordPress! Let me know in the comments below if you have any questions or if there are any topics you would like me to cover in the next guides.
Remember – there are no stupid questions!
We all been there. In the beginning, even the most natural and most obvious things for everyday WordPress users can look complicated.

Leave a Reply