Now that you understand how important having a mailing list is (part 1) and you’ve learned how to set up a mailing list (part 2), let’s dive in and talk today about how to increase mailing list subscribers and target your dream audience in part 3 of our mailing list series!
In this series, we are discussing discuss:
- Why building a mailing list should be your top priority.
- How to create a mailing list and add mailing list opt-in boxes to your site.
- How to dramatically increase mailing list subscribers and target your dream audience (this post topic).
Are you ready to learn how to build a killer email list that will dramatically boost your blog traffic and sales? Then let’s do this. Below you will find the two most popular ways of increasing the mailing list subscribers count.
Option 1: Offer something for signing up
People will not want to subscribe to your newsletter unless you give them a good reason to. Giving subscribers an incentive like a free download, printable, video, eBook, etc. is one of the best ways to grow your mailing list fast! Such a freebie is usually called a lead magnet.
Your opt-in incentive is key to attracting your dream list of subscribers. Spend time developing a freebie that is perfectly related to what you offer. If you offer an unrelated opt-in incentive, you will attract an unrelated audience that will most likely click the “unsubscribe” button as soon as they receive your first email. That’s definitely not what you want.
You want your subscriber list to only consist of people who can turn into frequent readers and/or paying customers. People that are actually interested in what you have to offer.

So how do you know what to offer?
Well, it’s quite simple, really. All you have to do is ask! Create a poll on your social media or ask your readers to type what they would like to receive in your post comments.
If you are just starting and your audience is not big enough to give you such answers, think about what your blog offers and create a small sample to share. For example, if your website or blog is about lifestyle, create a short ebook about this year’s trends or popular fashion tricks.
Make it relevant and irresistible!
Once you’ve created your irresistible incentive, you’ll need to create a way for your subscribers to automatically receive it once they opt in.
It can be done easily with automation or workflows offered by most subscription providers. We use Flodesk, where you can set up a simple workflow that sends an e-mail link to your freebie to all new subscribers.
If you don’t have a mailing list yet, come back to part #2 of this series to get one: How to create a mailing list and add mailing list opt-in boxes to your site.
Option 2: Add strategically placed opt-ins on your site
If you want to encourage people to sign up for your mailing list, it’s important to make it easy for them to do so. These key places will increase your mailing list subscribers count by giving your opt-in boxes maximum exposure:
#1 Pop-up window
Most people kind of hate these, but it’s a proven fact that they work! However, depending on your niche, they can also kill your conversions because they can be very annoying. If you opt to add a pop-up, choose one (not all) of the following options:
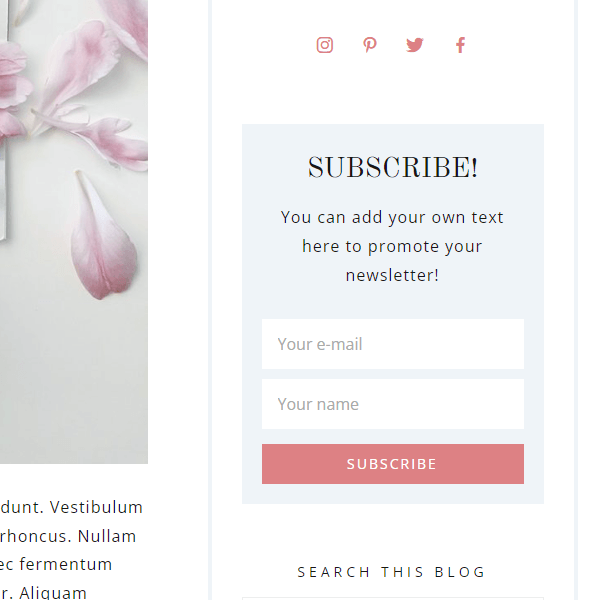
#2 Top of Sidebar
Your email opt-in box should be placed at the very top of your sidebar for maximum exposure and engagement. However, I prefer to add them below the social media links and “about me” section.
It is the most common placement, and we include a styled sidebar opt-in form for free with our WordPress Themes.
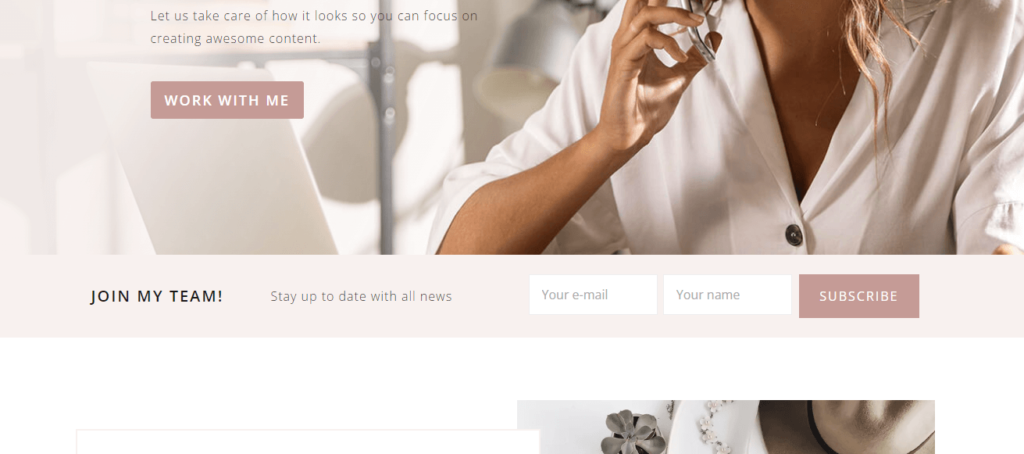
#3 On the Home Page
If you have a website, you want to treat your home page as an email capture page.
Place a big call-to-action button or opt-in form front and center on your home page to tempt and entice your visitors to sign up for your newsletter. If your blog page is your site’s front page, adding one of the pop-up options above is a good home page opt-in alternative.
Homepage opt-in boxes are also included with some of our WordPress Themes.
#4 After Each Post
This is a great way to convert visitors who have stumbled over to one of your posts from Pinterest or elsewhere. If someone makes it to the end of your post, it means they clearly love your content and so why not ask them to opt in right then and there when they are feeling great about your work?
You don‘t need to place opt-in boxes in all those places!
What works for some might not work for others. So experiment with each of these options and find what creates the highest conversions for your particular niche.
Last, but certainly not least, is the importance of creating killer content. You might have oodles and oodles of subscribers, but if your content is growing stale and you don’t produce anything to keep your subscribers interested, they will quickly start heading for the hills.
Don’t let this happen! Amazing content is what will attract people to your site. It is what will motivate them to stick around because it will be the foundation of your regular newsletters, so make it good!
Have you learned how to increase mailing list subscribers with this guide?
Would you like future series? If so, let us know what topics are of interest to you!


I read through the 3 steps about creating mail lists. This last piece has sort of dampened my enthusiasm.. I just created my blog, a month ago, same thing with Instagram.. The whole concept is new..I don’t know what to offer my future readers to enroll them at this point. I write about fashion tips and trends..My focus is to write quality content at the moment..But I realize I will have to think about this seriously.
Thank you , you are an eye opener!!!
Will definitely look to implement these tips to my blog xx Thank you 🙂
http://www.blackandwhiteinsider.com
Thank you for this useful tips. This is one of the hardest thing I want to improve on my blog.
Have a nice day
Lucie http://www.inbluebox.com
Absolutely LOVE your “Wealth of information” website! Thank you so much for providing quality content. I just started my blog and trying to learn as much as I can. Yours is the best, well organized site that I have found so far. Only one observation, can you make the linkable text stand out more, gray on gray is difficult to see.
https://www.craftycookingbyanna.com/
Thanks for your feedback. We’ve adjusted the color of our linkable text so it is hopefully easier to see now. Let us know what you think!
Very useful post!
You gave me a lot things to think about – I will start trying a few of your suggestions, as growing the subscriber list is our goal for this month.
Thanks Erin!!
This step only talks of WordPress. What are the options available for Blogger?
This is a very useful series and has clarified a lot of issues with setting up my blog. Thanks!
I also looked for some tips on your site for getting my blogpost to look classy, in terms of alignment and sentence endings flowing to the next line. Please give some solutions to these problems too. Thanks again.
Thanks for advice Savita! We will try to create more Blogger related posts in the future too.