Question: What is a blog post called that nobody ever sees?
Answer: A huge waste of your time!
Don’t be someone who wastes time creating blog posts nobody ever sees. Creating successful blog posts takes time and requires you to do certain things to get your posts noticed. Blog posts don’t magically become successful without conscientious effort. If you want your impressively crafted posts seen and loved by the world, then keep reading because this post is for you.
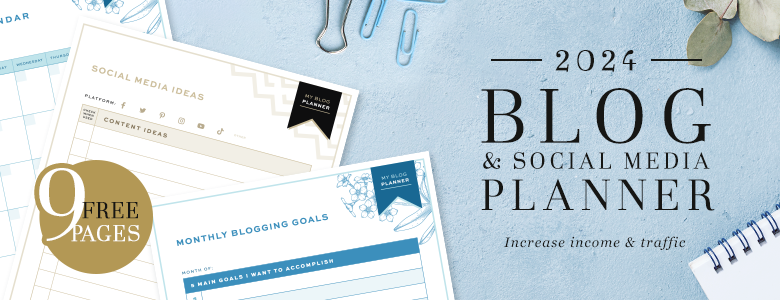
In this post, I’ll be sharing 15 essential things to do before and after you publish a post that will give your blog posts the absolute best chance of becoming successful. Our Weekly Post Planner printable (example at bottom of post) from our FREE Ultimate Blog Planner includes these steps so you can make sure each post you create is at the top of its game.
Before You Publish the Post
1. Write an Attention-Grabbing Post Title
Your post title is what is going to sell your content to the world, so it’s essential that it is well thought out and effectively written. Blog post titles should be focused and yet descriptive. Your post title should describe in one short, powerful phrase the overall message of your post. For tips on writing attention-grabbing post titles and for 48 post title templates that really work, be sure to check out:
6 Tips for Writing Attention Grabbing Post Titles
2. Add sections and Headings
The first thing most readers do when first landing on a post is they quickly scan the post to see if it looks interesting and/or contains the information they need. Putting up a single wall of unorganized text is going to make it very difficult for your readers to find what they need. Sections and headings divide your post into easily readable paragraphs. Adding headings, subheadings, bullets, lists, quotes & images are all things that add interest and organization to your post. Adding headings and subheadings that contain your focus keyword is also an important step in making your post SEO-fabulous.
3. Add Tags & Categories
Adding tags and categories to your posts adds structure to your blog and makes it easier for your readers to find specific content. Categories are like the table of contents or chapters of your blog. They are the broad topics you want to write about. While categories are broad, tags are very specific. If categories serve as the table of contents, tags are like the index or keywords of your site. For more information about tags vs. categories and to learn how to add them to each of your posts, be sure to visit the following post:
Categories vs. Tags – What’s the Difference?
4. Add Alt Text to Images
Adding alt text to your images is not only important for SEO, but it’s also important for Pinterest. What you add as your alt text, is what Pinterest will automatically pull as the description for the photo when someone pins your image to Pinterest, so make it descriptive and enticing. You can even add a call to action! For detailed instructions on how to add alt text to your images in WordPress or in Blogger, you can visit this post:
SEO Quick Tip: How to Title & Size Post Images
5. Add a Featured Image (WordPress)
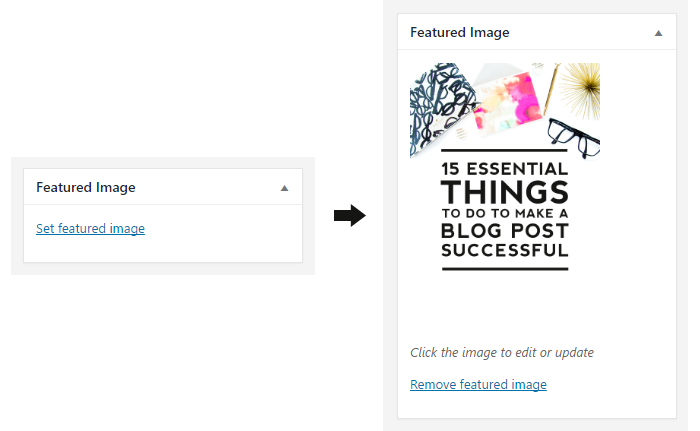
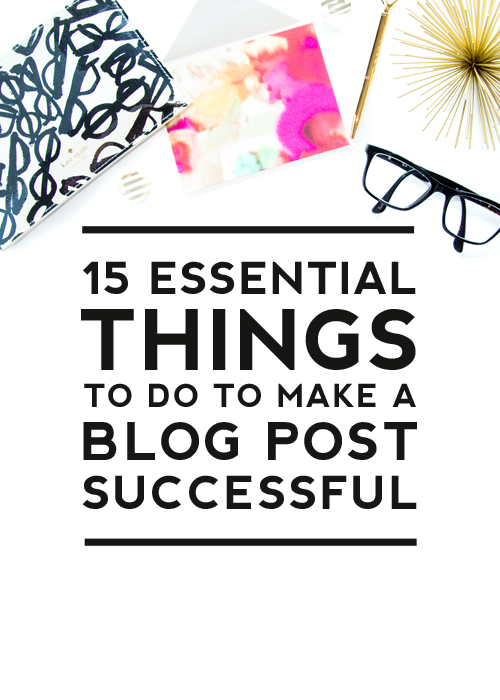
Your featured image is like the cover of a book and is the image that will be used to represent your post on social media, recent post suggestion boxes, Bloglovin’, StumbleUpon, etc. Your featured image can either be an image straight from your post or you can create a separate image to upload as your featured image. It’s best to use vertical images with text on them as they draw more attention in feeds.
To add a featured image to a post in WordPress, navigate in your dashboard to Posts > Add New. Then scroll down the screen until you find the Featured Image box on the right sidebar of your screen. Click the Set featured image link. Upload the image you wish you use from your computer or you can select a photo from your media library. Then click the blue Set featured image button and that will set your selected image as your featured image.

6. Deep Link to Old Posts
Adding links to older posts within a new post not only provides your readers with further reading about a given topic but also keeps people on your site longer. I’ve deep linked to older posts several times throughout this post. I’ve done this as a way of offering additional information and tutorials rather than repeating all of the information and tutorials contained in those posts here. Deep linking also helps increase your site’s page views because it encourages readers to visit more pages. This results in them spending more time on your site.
7. Proofread
I’ll be honest here. I hate proofreading! It takes time to read and re-read a post (especially a long one like this one), but it is so essential! If you are anything like me, you can proofread a post ten times, publish and then a few days later still find errors. I’m sure you’ll even find some in this post…ha! One tool that has helped me a ton when writing posts is a tool called Grammarly. Grammarly is a browser extension that will help you find and then fix common grammatical errors. As you are creating your post, it automatically underlines anything you need to take a second look at. It is constantly helping me find and fix errors within my posts that I would have otherwise overlooked. I highly recommend using this tool to help you perfect your posts.
8. SEO Optimize the Post
Search Engine Optimization (aka SEO) is essential if you want your post to be noticed by search engines. Search engines help drive traffic to your website and are a powerful means of growing your site. SEO optimizing your posts is an absolute must do if you want your posts to be successful. In our post How to Unlock Yoast SEO to Grow Your Traffic, we break down exactly how to go about optimizing each of your posts, so be sure to check that out if you haven’t already. I also recommend you check out these posts for additional SEO tips:
SEO Quick Tip: Titling & Sizing Images
SEO Quick Tip: Page Titles & Descriptions
9. Add a Call To Action
Adding a call to action means that you add something at the end of your post that gets your readers to act. It might be something as simple as ending your post with a question that motivates your readers to leave a comment. Or maybe you could offer a related freebie that helps you gain new email subscribers. Another idea would be to leave your readers with some type of challenge and then encourage them to return and share in a comment their experience fulfilling the challenge. When readers act on a post, they will remember that post far longer than a post without a call to action. Creating posts your readers remember means they will be far more likely to return to your site in the future.
After You Publish the Post
1. Promote Your Post on Social Media
Have you ever heard of the 80/20 rule? It’s said that you should spend 20% of your time writing new content and 80% promoting it. After you hit publish it’s important to get your post in front of as many eyes as possible. Social media is the best tool for doing this, so be sure to share your post on all of your social media platforms including Facebook, Twitter or Instagram.
Don’t be afraid to share your post multiple times on each social platform during the week. If you only post about it once, only a small percentage of your followers will see it, so posting about it a few times in different ways and/or using varying images, will allow it to be seen by more eyes.
2. Pin & Repin Your Post to Pinterest
Pinterest is a HUGE traffic source for most blogs. For Designer Blogs, it’s our #1 traffic source! Using Pinterest is key to getting your post in front of A LOT of eyes. Over the course of few days, pin your post to relevant boards on your Pinterest account. You will also want to share your post on any group boards you might be a part of.
Using a Pinterest scheduling tool like Tailwind, Ahalogy, or BoardBooster will make your life a ton easier as you can use them to schedule your post to several boards over the course of a couple of days rather than having to remember to do it manually. A few months after you publish your post, don’t be afraid to repin your post again to several boards on your account. This will keep it in front of your follower’s eyes and in constant rotation.
3. Link It Within Old Posts
Another way to get your post in front of more eyes is to go through all of your existing posts and link your new post within related posts. You can do this by editing the content to include information and a link to your new post or if you don’t want to spend time editing content, you can simply mention the post at the bottom of a related paragraph similar to the following example:
Related: How to Make Money Blogging
Like mentioned previously, deep linking to other posts within your site is a great way to give your posts more exposure and increase your page views.
4. Reply to Comments
Be sure to take the time to reply to any comments that may come in. Replying to comments builds a rapport with your readers and helps them feel valued. Answering questions your readers may have will not only be beneficial to the reader asking the question, but to future readers as well.
5. Mention the post in an email to your subscribers
Your email subscribers are some of your biggest fans! They’ve subscribed to you because they love the content you produce. However, rather than bombarding your subscribers with emails every time you publish a new post, consider sending out a weekly roundup of the week’s posts, events or news. Your subscribers have subscribed to you because they are excited to hear and learn more from you, so don’t be afraid to share your posts with your most enthusiastic fans.
6. Study Your Analytics for the Post
Studying your analytics is a great way to learn which posts your readers are loving and which posts aren’t quite working for you. After publishing a post if you find that after a few months it hasn’t performed well, try re-promoting it, changing the title to something more click-worthy, and/or improving the images used within the post. All of these things can help breathe new life into your posts. Learn more about how to read Google Analytics here:
WEEKLY POST PLANNER
Our Weekly Post Planner, which you can download for free with The Ultimate Blog Planner, is a great tool for making sure you’ve covered each of the items listed above.


I love that you created a post planning sheet. I always go through this checklist in my head, but it is cool to see it on paper!
Thanks so much Megan! Hopefully it helps you (& others) remember all of these tips. We appreciate your comment. Enjoy!
So right!;-)
Thanks!<3
http://www.blogellive.com
Great post, thank you. I wrote down a few ideas :).
That’s good !!!
Thanks!!
Thanks for sharing these ideas!!
I’m starting with blogging and these tips are fantastic
Hi,
I started 5 blogs in the past, but I didn’t do much about them. Now I am trying to do everything good and research as much as possible. Your post is great and I hope it will help me succeed with this new blog I started.
Thank you
Thank you girls! this post was so helpful, I took so many notes to use in my blog <3
I downloaded this in 2017 and it’s a savior. Came back in 2019 because I couldn’t find the original file and was able to reprint the ones I needed. Thanks so much for this amazing resource! One of the best downloads to get my blog back up and running again!