So far, we’ve shown you lots of step-by-step guides for Blogger. Usually, those were more technical tutorials, such as how to right-click disable or back up your template. Today, I have something more visual that will change the way your posts are presented. In this tutorial, I will show you how to edit the post date & footer in blogger.
Edit post date & footer in Blogger
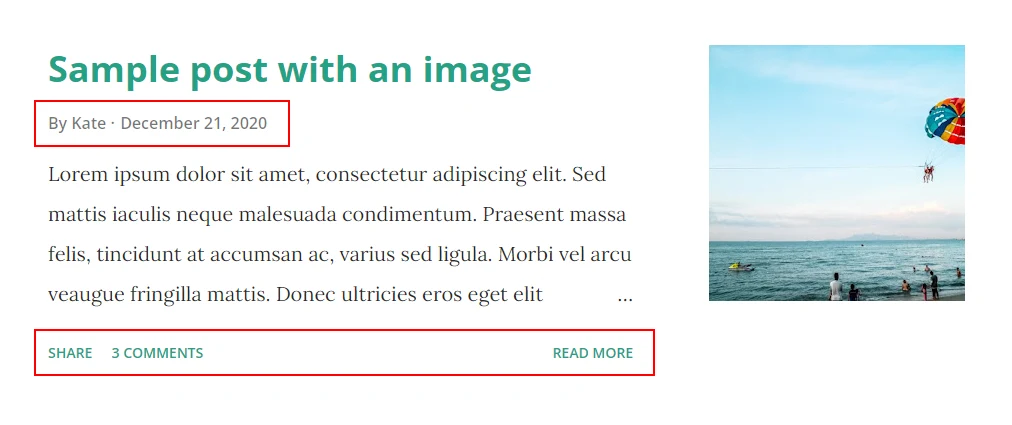
Let’s start with the basic question: ‘What the footer and post date is?’. The answer is simple, those are sections, usually located below the post title and content that include additional information about blog posts. In most cases, you can find here post author details, post creation date, assigned categories etc.
#1 Locate Blog Posts section
Log in to your Blogger and head over to your dashboard.
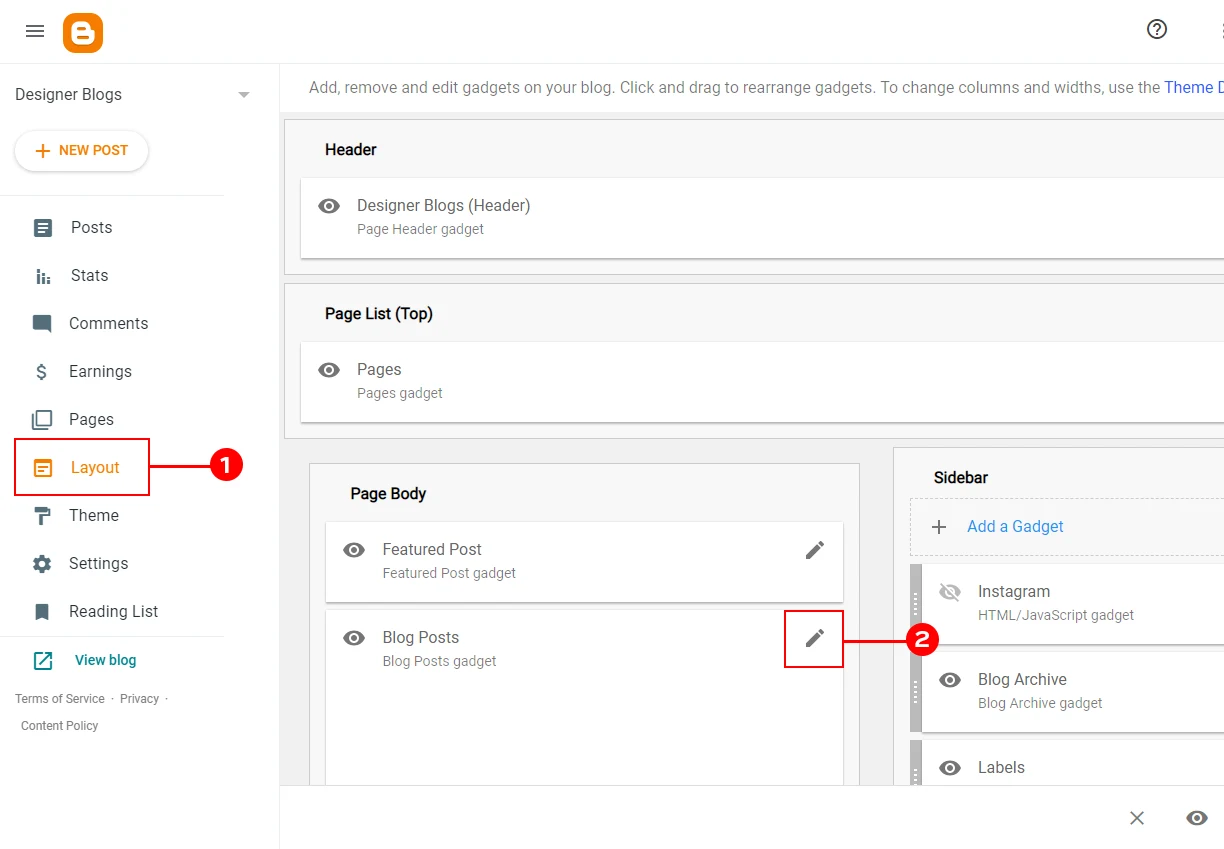
In your blog dashboard, click on the Layout tab on the left and locate the Blog Posts section. Usually, it can be found somewhere in the middle in the ‘main’ or ‘page body’ part.
Once you spot it, click on the edit button in the bottom right corner or on the pencil icon within the Blog Post widget section.
#2 Check the settings
The pop-up window that will appear includes all the possible settings for your Blog Post section. You can set here the number of the posts on your homepage (#1) or change the wording of the ‘read more’ button (#2) if you are using jump links or automated post excerpts (pst! we can add them for you! contact us for more info).
There is even a place where you can edit the small part of the text that appears before your name under the post titles (#3).
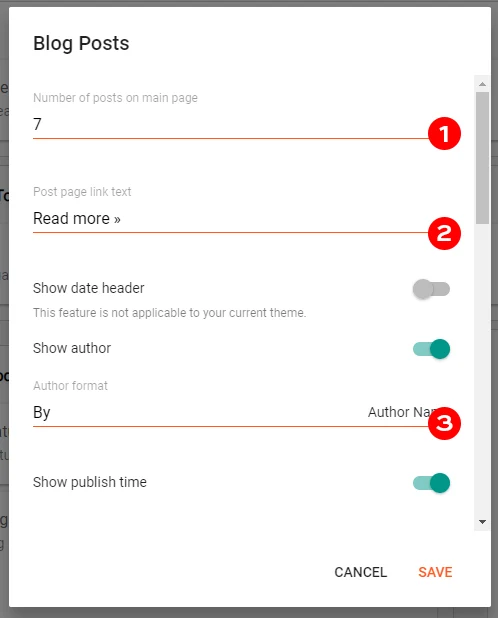
If there is something that can’t be edited with your current template, the option will be greyed out by default and described as not applicable:
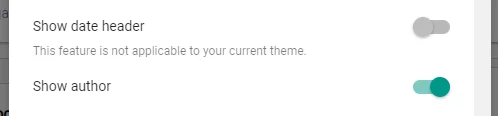
All other elements will include a green circle and you can turn them on and off whenever you want by clicking on that circle.
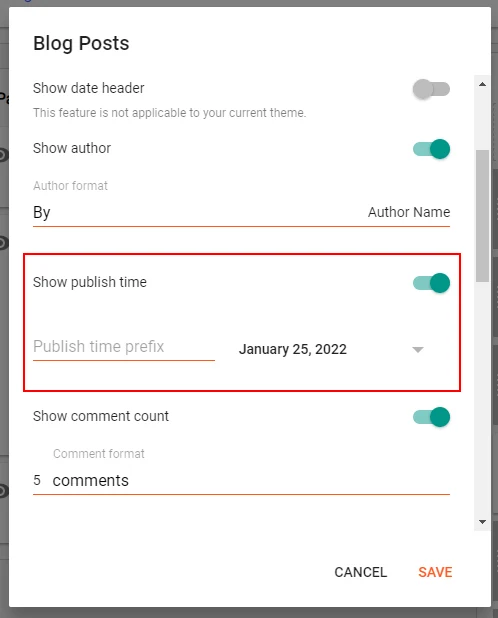
#3 Edit Post Date
If you want to edit the post date, ensure that the ‘Show publish time’ section has a green circle next to it.
Next, browse the possible options by clicking the small grey arrow on the right from the default date format.
#4 Move things around
Lastly, you can totally rearrange the order of the information in your footer and at the top of your post using the arrange items section at the bottom of the Blog Posts edition window.
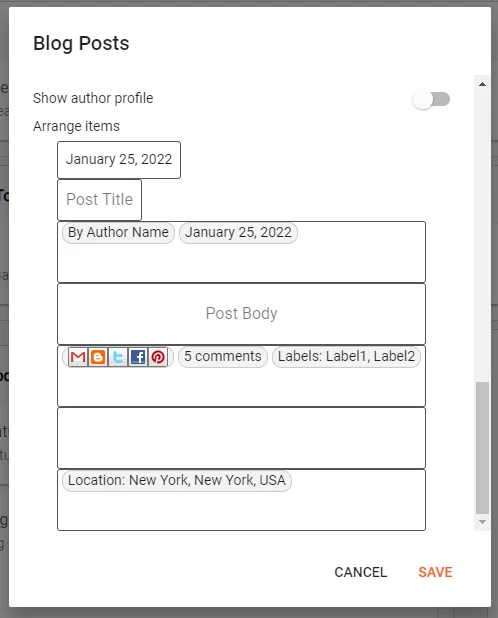
Do you want labels to come first? Then click and drag the labels to before posted by. You can even stick the date at the end. Put whatever, wherever you want!
#5 Save the changes
Remember to always hit the orange Save button in the bottom right corner to save your changes. You can come back to your Blog Post edition screen as many times as you want.
See there are so many different fun things you can do to fancy up your footer. Have fun playing!
I hope that you learned how to edit the post date & footer in Blogger with this short guide. If you have any questions, let us know in the comments or contact us via our contact form. We offer free consultations for all bloggers, so let us know if you feel stuck or are unsure how to work with your blog.


I just did this, thanks for the info. I've always wondered how people got those cute little hearts!
Pam
I love the heart, and successfully added it! But for some reason I cannot get the social network buttons added… Could it be the template I am using?
[email protected]
allthingsfee.blogspot.com
Mine shows a heart on the inside but on the post itself it shows the code. Yuck.
@Felicia — I'm sorry its not working! It could be the template you are using. It should work with just a simple check in the box.
@Terri — Make sure you copy the code fully. Also try refreshing your browser.
I checked the box for the social networking buttons, but they still won’t show up on my blog.