Adding a hover effect to your blog photos is fun and easy way to add interest to your blog posts or sidebar images. Rollover effects are a great way to showcase before and after photos or to surprise your readers with a fun message when they hover over a photo. To see how the the rollover effect works, hover your mouse over the pink glasses right here:
So fun. Here’s how to create this effect…
STEP 1: CREATE TWO PHOTOS
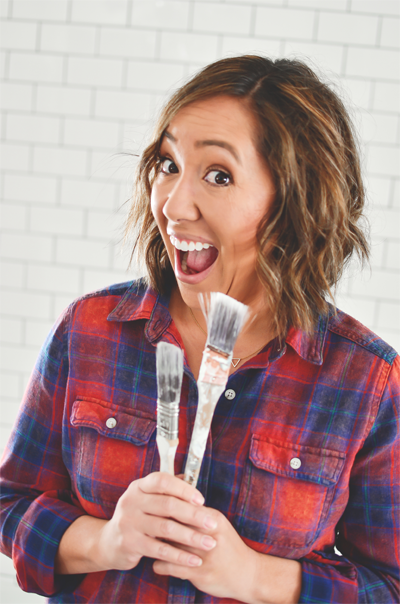
My brother’s cute wife Michelle of 4 Men 1 Lady has graciously allowed me to use her about photo for this demonstration. Seriously, go check out her blog. She is INSANELY talented.
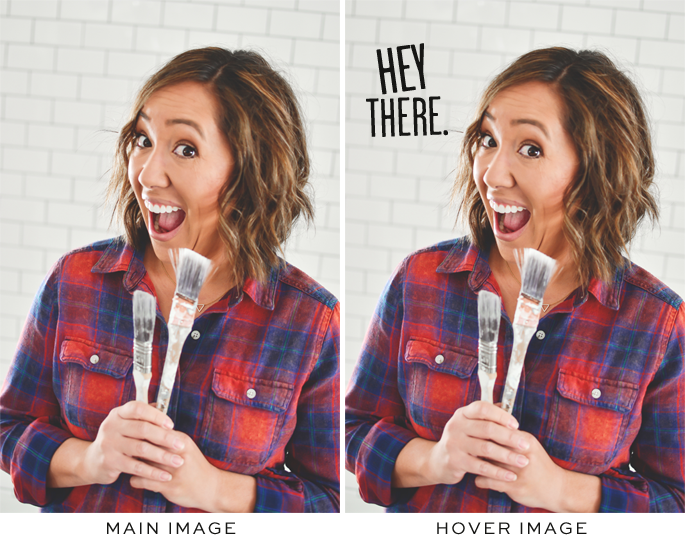
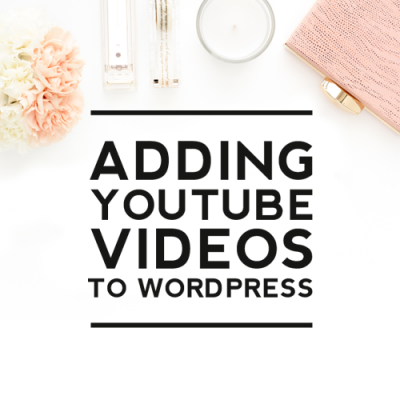
The main image photo is the one people will see first when they view your blog. The hover photo is the photo they will see when they roll over the photo with their mouse. When the mouse is removed from the photo, the photo will return to the original photo.
NOTE: If you are using before and after photos of a room or project, make sure you are standing in the exact same spot or using the exact same angle when you take both photos for the best hover effect.
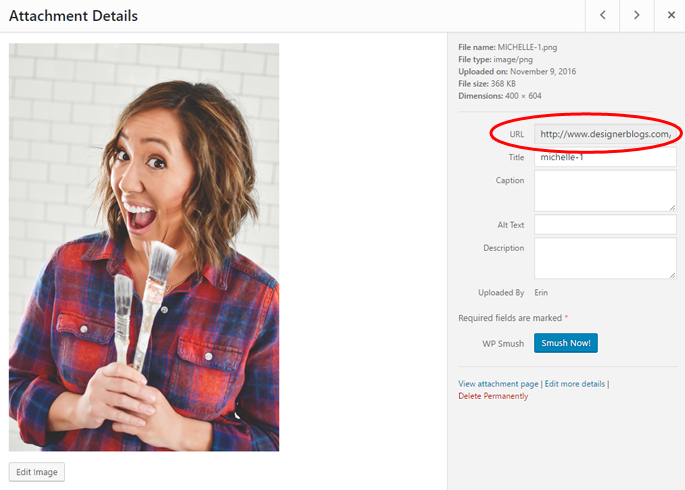
STEP 2: CREATE URL’S FOR EACH PHOTO
Each photo will need to be converted to a URL in order to be used in the coding that will create the hover effect. Instructions for how to do this in both WordPress and Blogger are shown below.
To Create a URL in WordPress
In your dashboard, find your media library and upload each photo to it. Then click to Edit each image. Copy the URL from the URL box and save each URL somewhere so you have them handy for the next step.
To Create a URL in Blogger
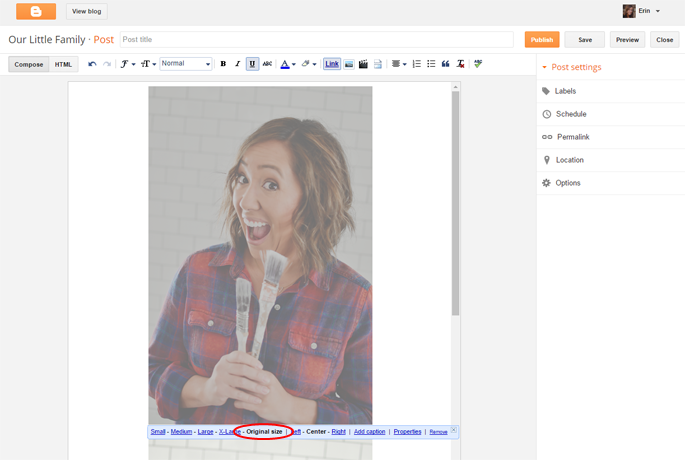
Create a new post and upload each photo. Click on each photo and make sure they are set to “Original size.”
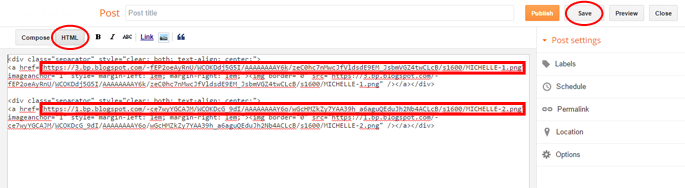
Now switch to the HTML view of the post. You’ll see a bunch of coding. The first block of coding is for your first image, the second block of coding is for your second image. The URL for your images are going to start with “https” or “http” and are going to end in either “png” or “jpg”. Do not copy the quotation marks before and after the code. You’ll need to find and copy each image URL and then save those URL’s somewhere so you have them handy for the next step.
Then save the post. IMPORTANT: you’ll need to keep this post saved as a draft forever and never delete it or your images will be deleted as well.
STEP 3: ADD ROLLOVER EFFECT CODING
If you are wanting the hover effect added to a post/page, open the post/page and switch to the HTML view (Blogger) or to the Text view (WordPress). If you are wanting the hover effect added to a sidebar gadget or widget, add the HTML/JavaScript gadget (Blogger) or a Text widget (WordPress). Then paste in the following code:
<img src="URL OF THE MAIN IMAGE GOES HERE" onmouseover="this.src='URL OF THE HOVER IMAGE GOES HERE'" onmouseout="this.src='URL OF THE MAIN IMAGE GOES HERE'" />Replace URL OF THE MAIN IMAGE GOES HERE with the image URL for the first main image (there are 2 locations in the code where this needs to be placed)
Replace URL OF THE HOVER IMAGE GOES HERE with the image URL for the second hover image
IMPORTANT: Be sure not to move or delete any of the quotation marks or apostrophes or the mouse over effect will not work. Also, be sure to publish your post in the HTML/Text mode for the effect to work properly.
Now Michelle’s cute about photo looks like this (be sure to hover):
I only chose to change the photo by adding text, but think about how cute it would be if her facial expression changed in the second photo as well. There are seriously so many creative ways you can use the hover effect! If you’ve used it, we’d love for you to share in the comments the link to a post you’ve used it on so we can check it out!


I've been blogging for about a year, but I don't have a clue what any of the HTML codes mean…or how to really use them! A post specifically on HTML would be really useful!!
I’ts very strange. Html coding is not difficult and it’s powerfull thing that make your post more interesting
Yes, it really can create a more interesting post when used in the right way. Thanks for your comment Pablo.
Thanks for posting this, i have been wondering how to do it for awhile now! Thanks again.
<3,
Adri
Dream Book Design
I just found your blog and I love this tutorial. I have always wondered how to do this.
Thanks for posting this – that's way too cool! I've also got this linked to my "blogging" post too today, thanks again!
So cute! Can’t wait to try this! Thank you for posting 🙂
This is so cool! I’ve never even seen that before. Definitely bookmarking this page while I figure out how to creatively use it for me. I create stationery and maybe it would be cool to show inside and the outside of a card on image hover, or something along those lines. Thanks for writing this awesome tutorial.
BTW, I have a custom PIN IT button that appears on hover, do you know how this would work with it? Would the button still work? and what image would it pin…
You ladies are such a wealth of information. Thank you so much for sharing. I will definitely be doing this with the before and after photos of my studio.
Thank you for sharing. I have been trying for weeks to do this without having to post my image to a third party hosting site. I am sooooo close to getting this right.
My blog URL is iweararedhat.blogspot.com. Using the below code I wind up with three images in my post–If you click on either the first or second image , nothing happens. If you click on the BOTTOM image it will rollover only the FIRST time you click on it.
If I delete all but the BOTTOM code above, I wind up with one image in my post which will rollover only the FIRST time you click on it.
I would like the image to rollover each time one clicks on it? Golly, hope I am making sense?
Thanks for posting this.I like your articles
Excellent. Thanks a lot. It worked perfectly.