Today we are sharing with you a very simple tutorial that will teach you how to change the logo on your WordPress login page to a custom one using a plugin. Adding your own logo is an easy way to add a touch of personalization to your login page and will make it oodles of more fun to log into your site.
Step 1
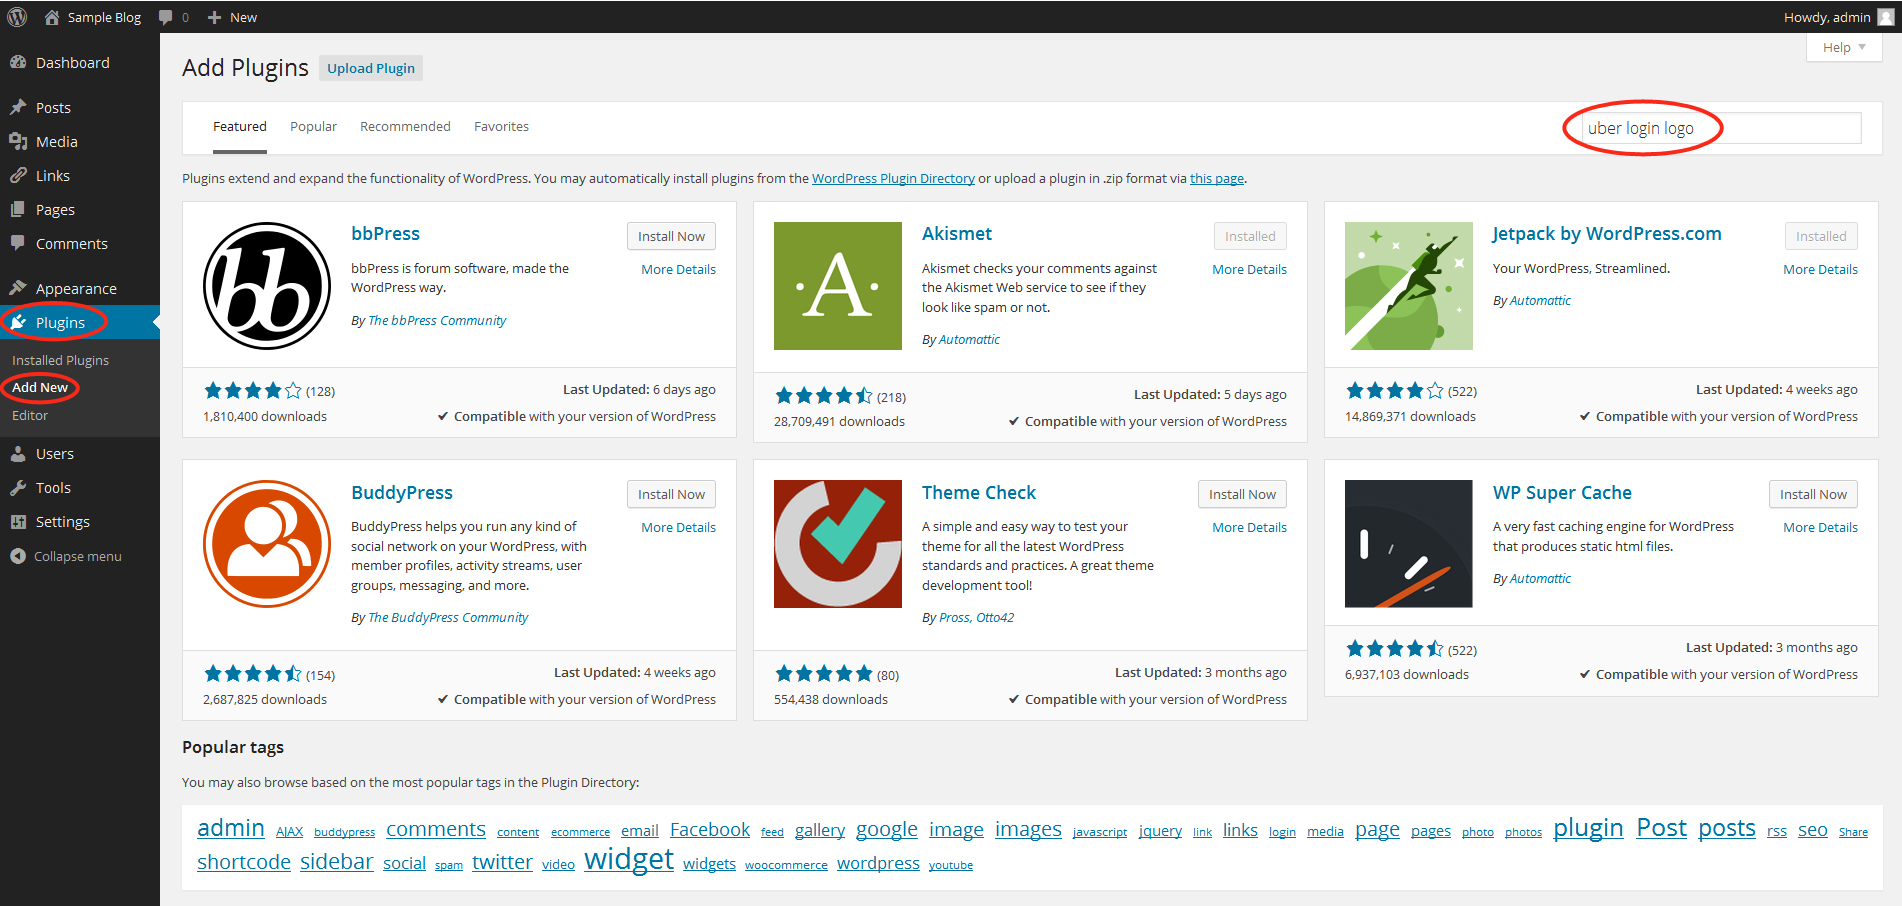
In your dashboard go to Plugins > Add New. In the search bar type in Uber Login Logo.
Step 2
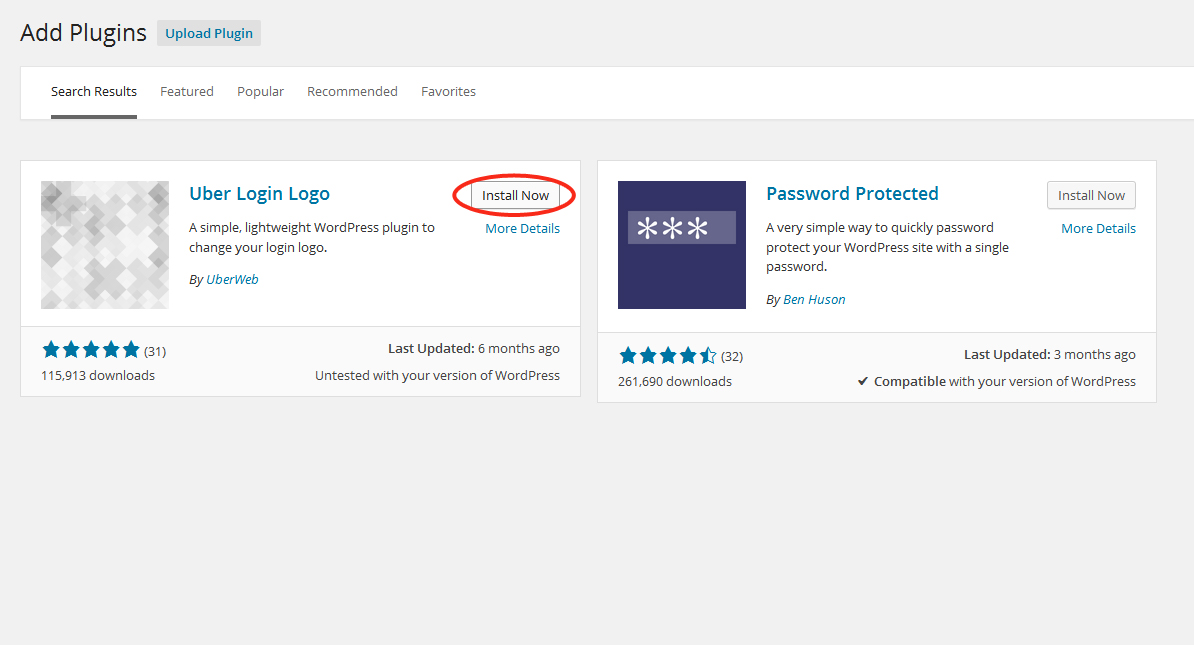
Once the Uber Login Logo plugin has been pulled up, click the Install Now button. A pop up will appear that asks if you want to install the plugin. Click OK.
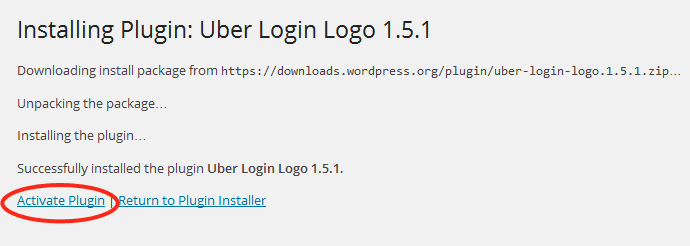
Once it has been installed, click Activate Plugin.
Step 3
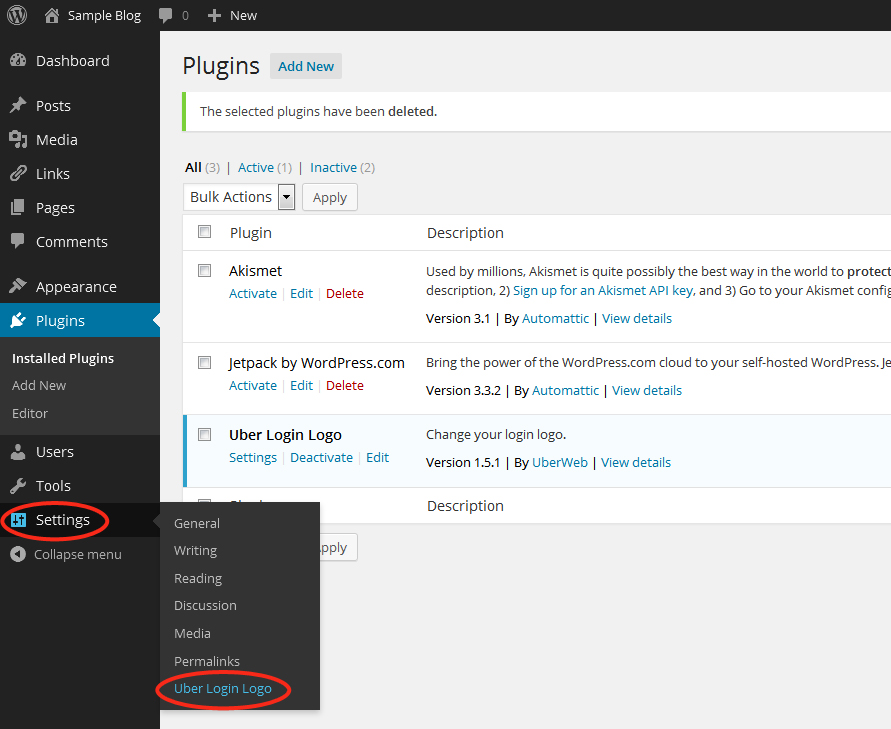
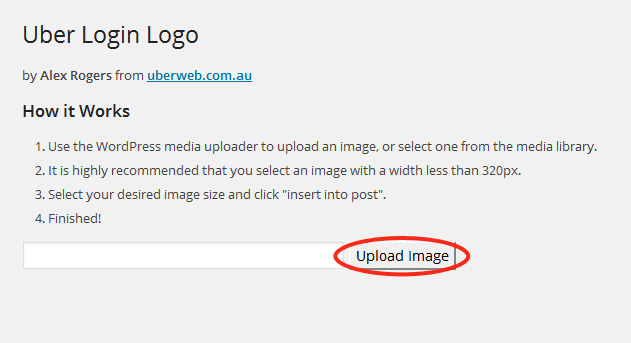
To open the plugin, go in the dashboard to Settings > Uber Login Logo.
Click on the Upload Image button to search your computer for your logo file. Make sure your image is sized to 320px or smaller. Also make sure your image is a .png file with a transparent background. If you use a .jpeg image it will have a white box around it when you upload it and it won’t look as professional.
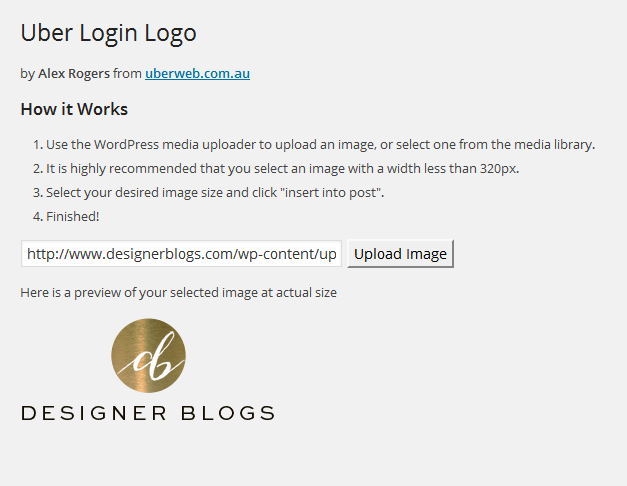
Once it is uploaded it will show a preview of the image and it will be saved.
Step 4
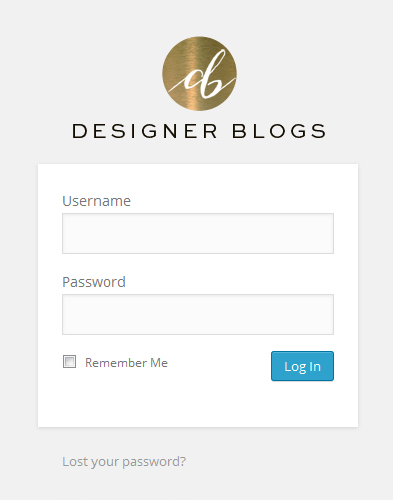
Now log out of your site and you will see your new customized login page!
If you don’t like the plugin above, here are some other similar plugins you can try that will accomplish the same thing:
CUSTOMIZE LOGIN IMAGE
MY WORDPRESS LOGIN LOGO


This is cool, would help a lot in customization. Many thanks!
I love this website! I recently started a WordPress blog about makeup and skincare for women 40 and over. The layout of this website, the ease of navigation and the wealth of information has been a blessing! Please keep up the good work!
We’re so glad you found us Tanya!
I love this! Thank you for sharing, now I can have my logo on the log in page. Makes me feel more official! 🙂
It certainly does help a site feel more official. 🙂 Glad it helped. Enjoy!